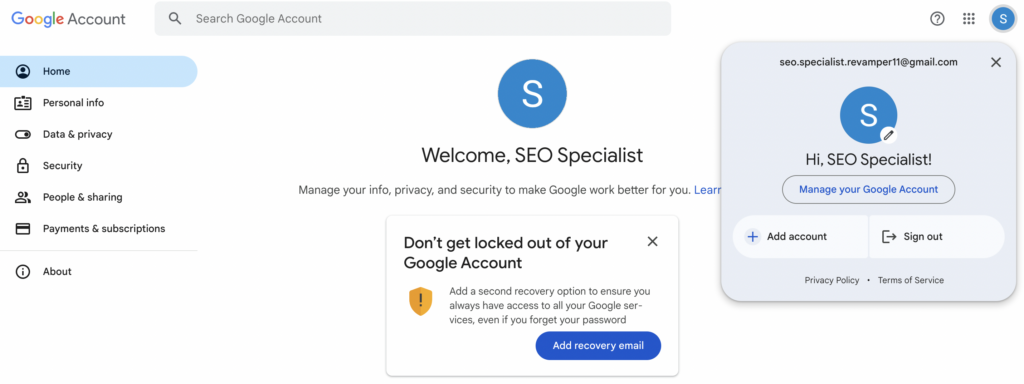
To create an account in Google Search Console, you first need to have a Google account.
Below is a step-by-step guide on how to create one:
1. Go to the website [https://www.google.com/account/about/].
2. Click Create Account.
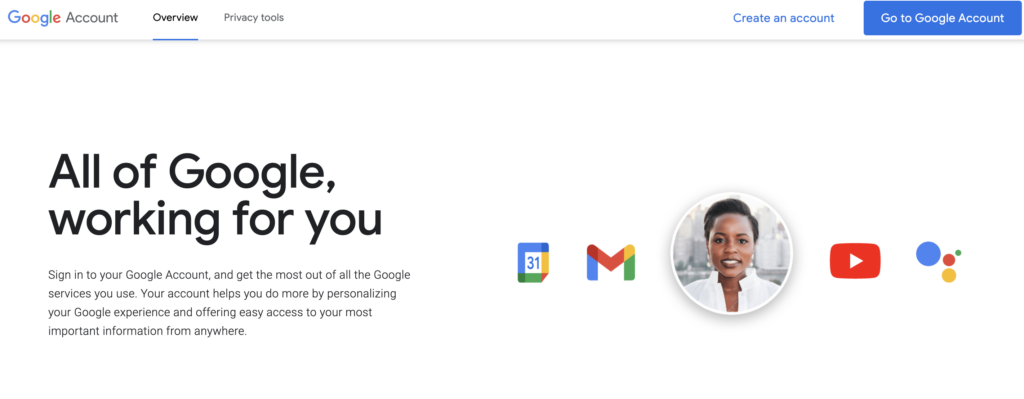
3. Enter your first and last name (optional).
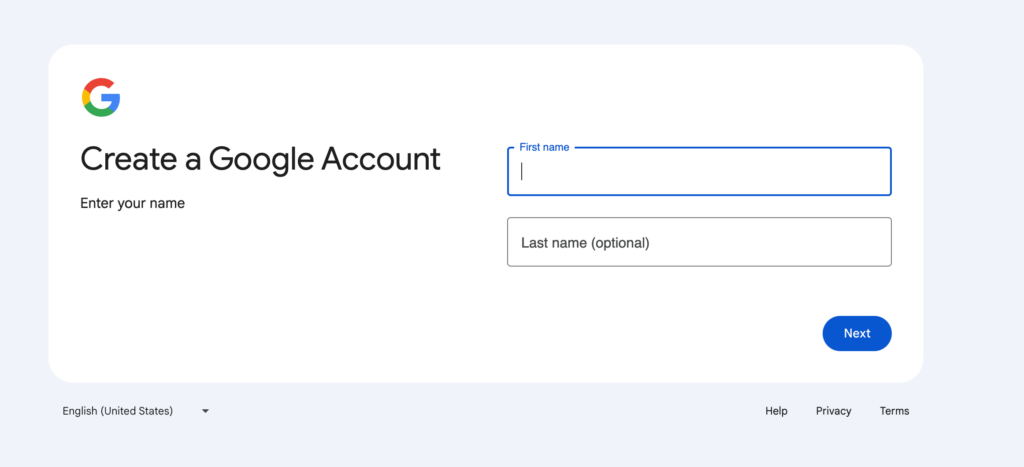
4. Provide your date of birth and gender.
5. Choose a Gmail address – or set your own.
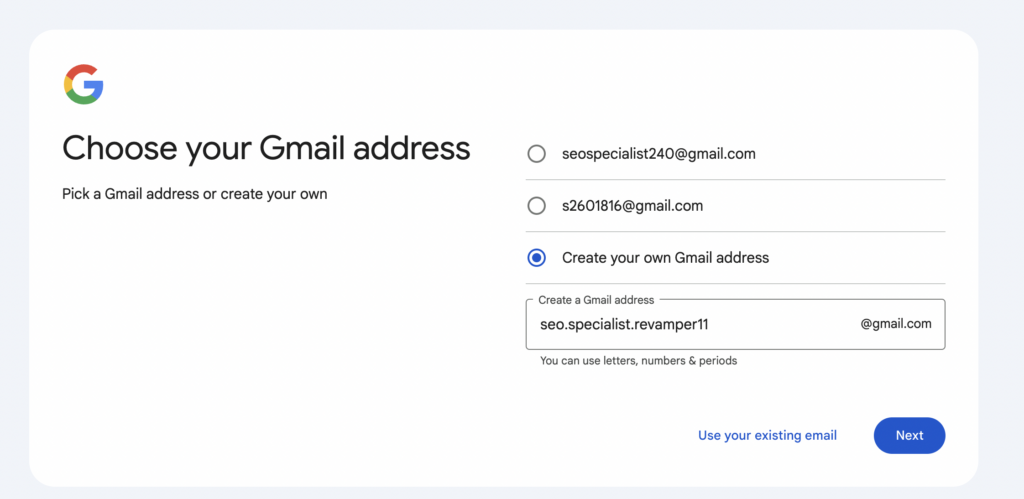
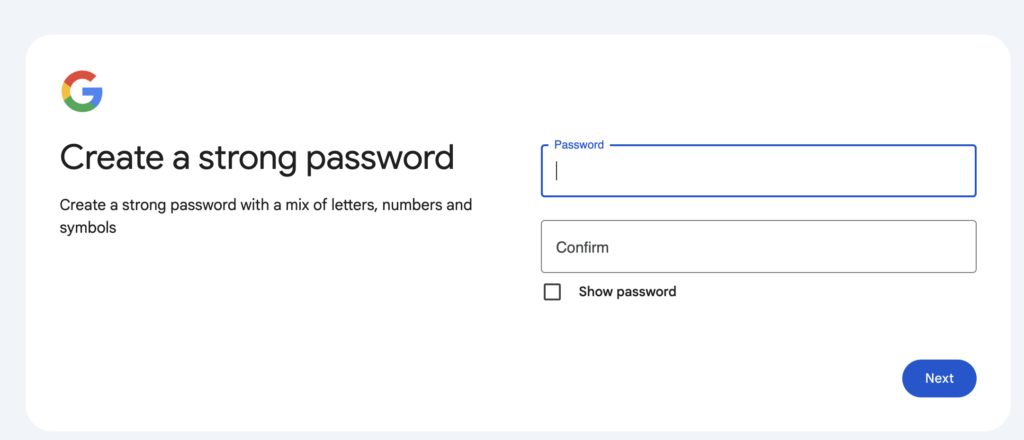
6. Set a password.
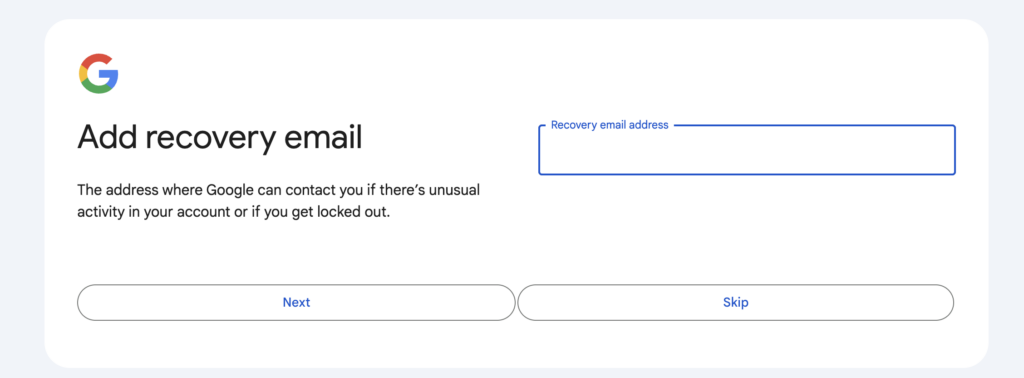
7. Add a recovery email address (useful if you forget your password – this is optional, but we recommend setting it).
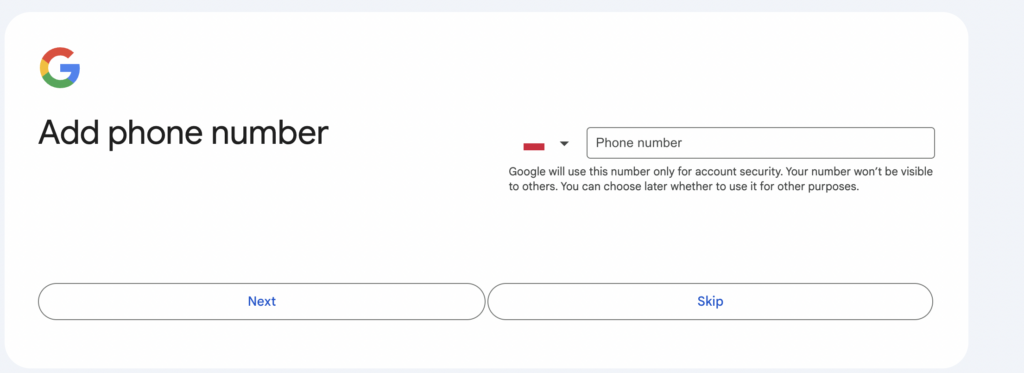
8. Provide a phone number (necessary for account recovery).
9. Choose a setup method.
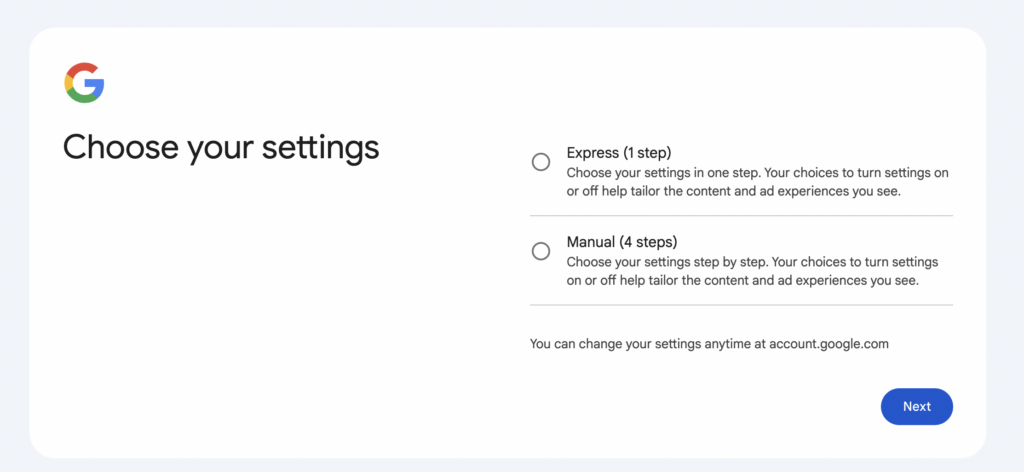
You can choose from:
Express option – takes 1 step.
You choose your settings in one step.
Manual option – takes 4 steps.
You choose your settings step by step.
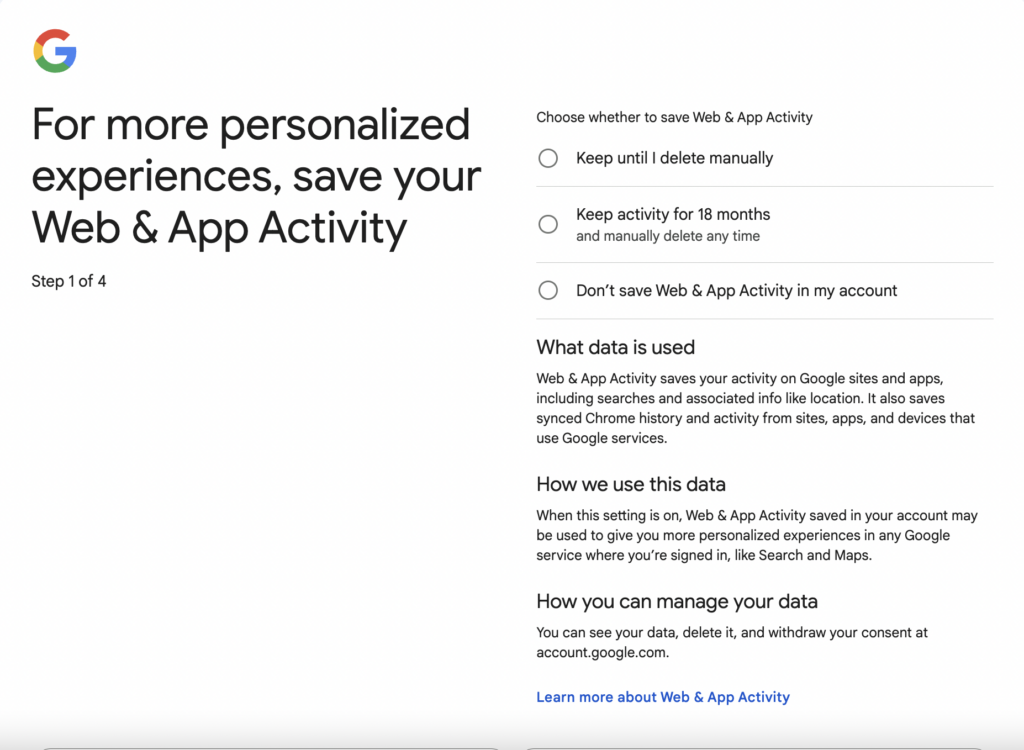
In the 1st step, you decide whether you want your data and activity regarding “Web & App Activity” to be saved by Google.
Options available:
– Keep until I delete it.
– Keep for 18 months (with the option to delete at any time).
– Don’t save any account activity.
**What kind of data is saved:**
“Web & App Activity” saves your activity on Google sites and apps, including searches and associated info like location. It also saves synced Chrome history and activity from sites, apps, and devices that use Google services.
**Why the data is saved:**
When this setting is on, the “Web & App Activity” saved in your account can be used to provide you with more personalized experiences in any Google service where you’re signed in, like Search and Maps.
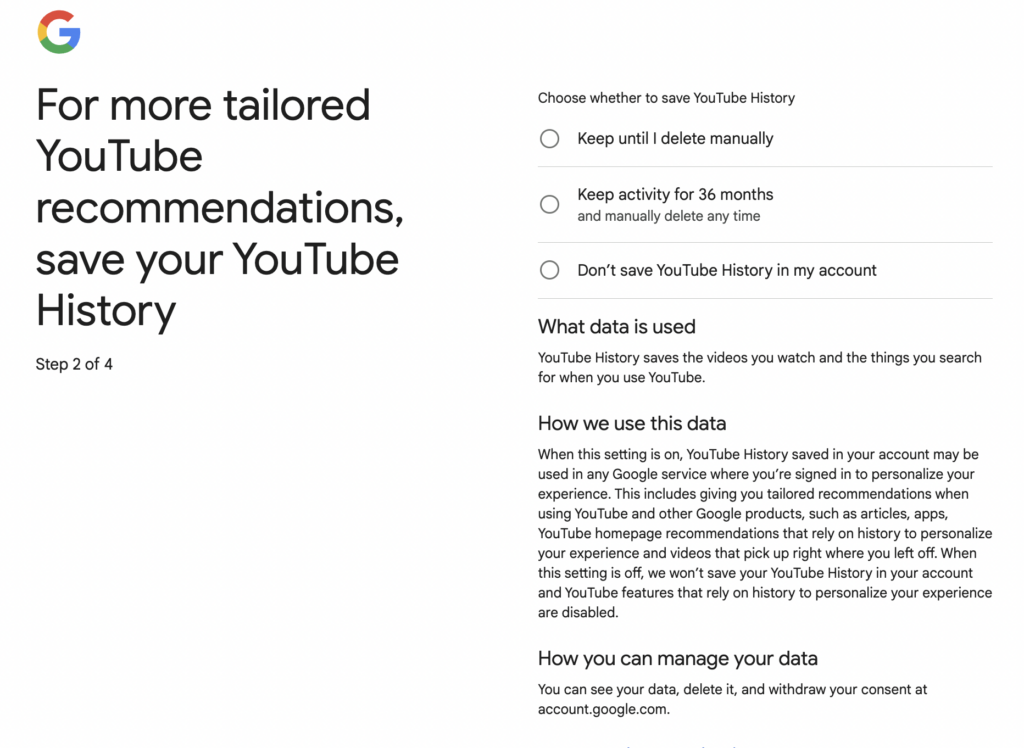
In the 2nd step, you decide the same for YouTube activity. The options are similar, the only difference is the length of the period for which you agree to keep the data – for YouTube, it is 36 months with the option to delete at any time.
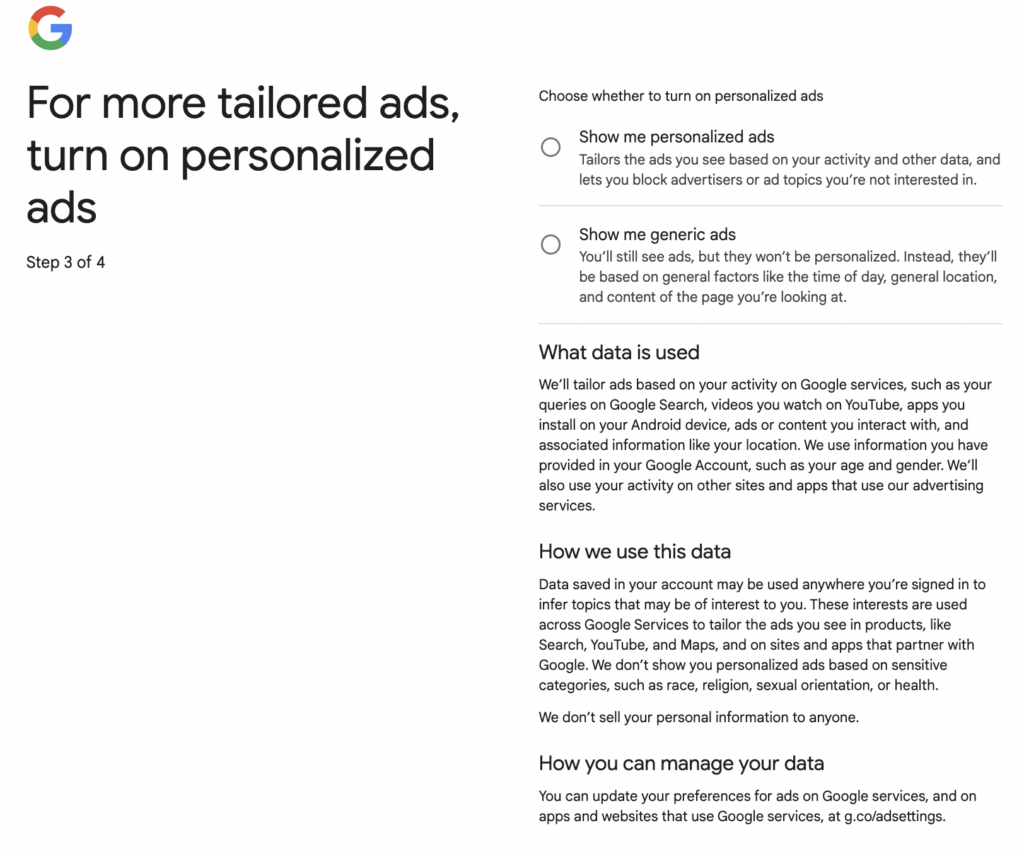
Step 3 concerns ad settings – here you decide whether you want to see personalized ads (tailored based on your activity and other data, and allowing you to block advertisers or ad topics that do not interest you) or generic ads, not based on your data and activity history (you will still see ads, but they will not be personalized. Instead, they will be based on general factors such as the time of day, general location, and the content of the page you are viewing).
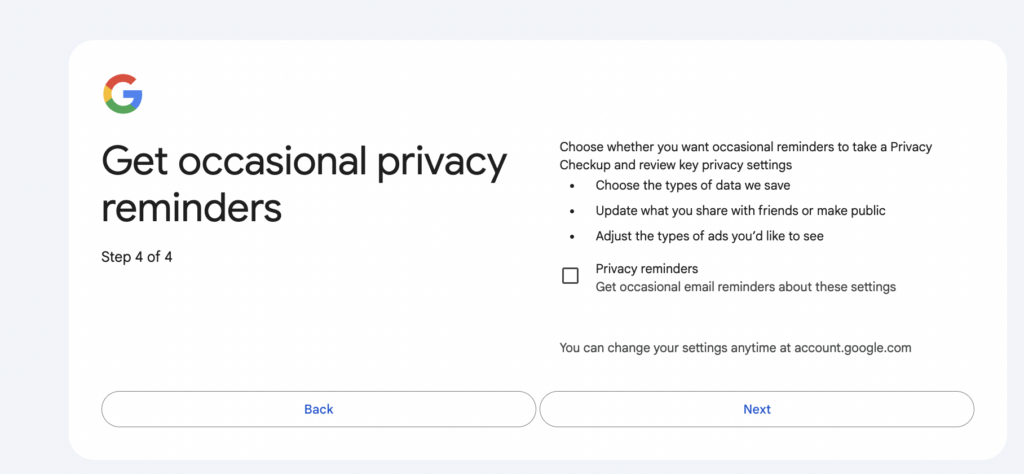
Step 4 – you can agree to privacy reminders. You will receive messages allowing you to verify your current settings and change the type of data to be stored, update the information you want to share publicly or with friends, and specify what kind of ads you want to see.
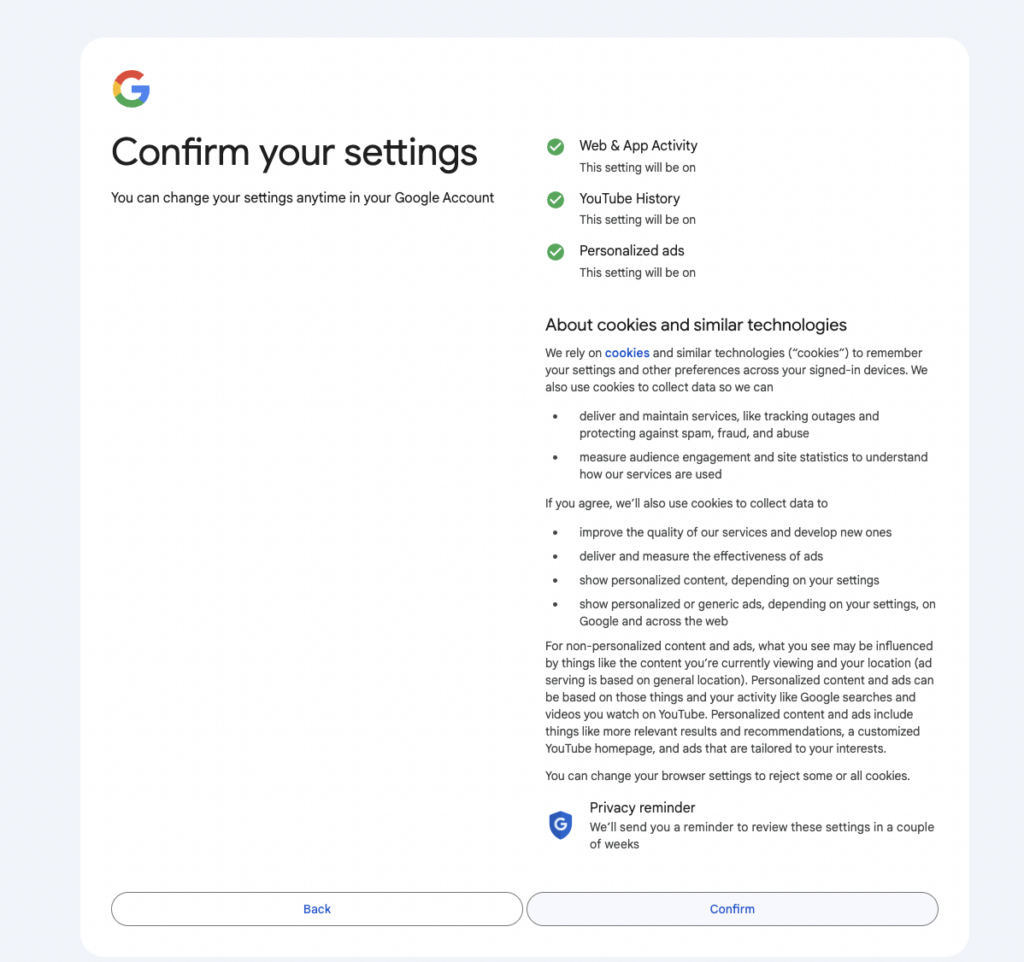
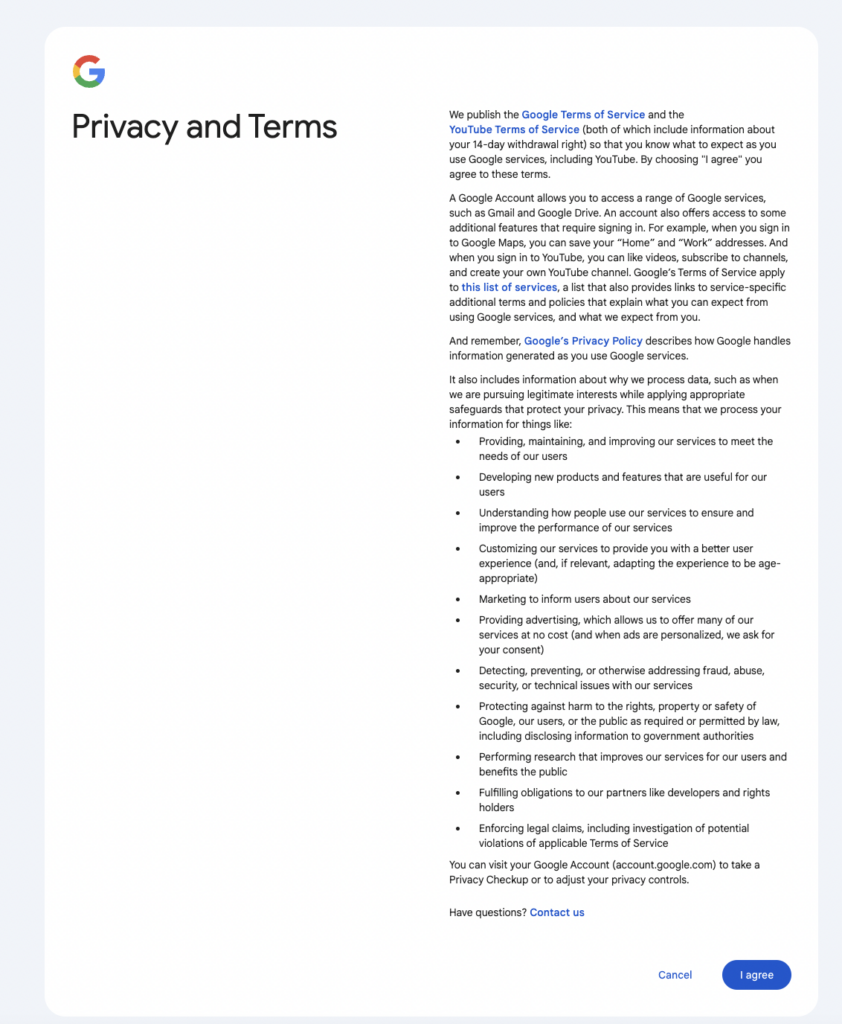
14. The last screen is the confirmation of settings and acceptance of the privacy policy.
15. Voila! Your account is ready to use.
